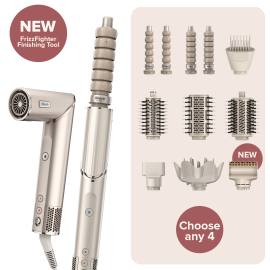
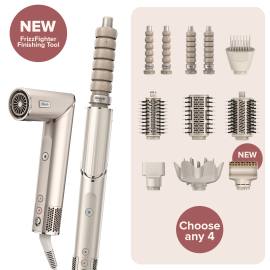
Styling Tips for Straight Hair
Whether you’re dreaming of poker-straight, super-smooth locks or want to add a beachy wave to your hair, achieve your perfect look.
Website Exclusive
3 Top Tips for Straight Hair:
- To add volume to flat hair, place a round brush underneath your roots and brush upwards while drying with the concentrator.
- For thicker hair, increase the heat for faster drying and styling. If your hair is fine, try reducing the airflow to help avoid frizz.
- For long-lasting results, use high heat for 10 seconds then press Cool Shot for 10 seconds until hair is completely dry.
Hairstyles for Straight Hair using FlexFusion
Shark FlexFusion’s Wet-or-Dry Fusion Straightener attachment uses a combination of heated ceramic plates and powerful airflow to straighten from wet or dry – so you can unlock sleek, straight hairstyles on just-washed AND second-day hair. Looking for inspiration? Try these signature straight hairdos.
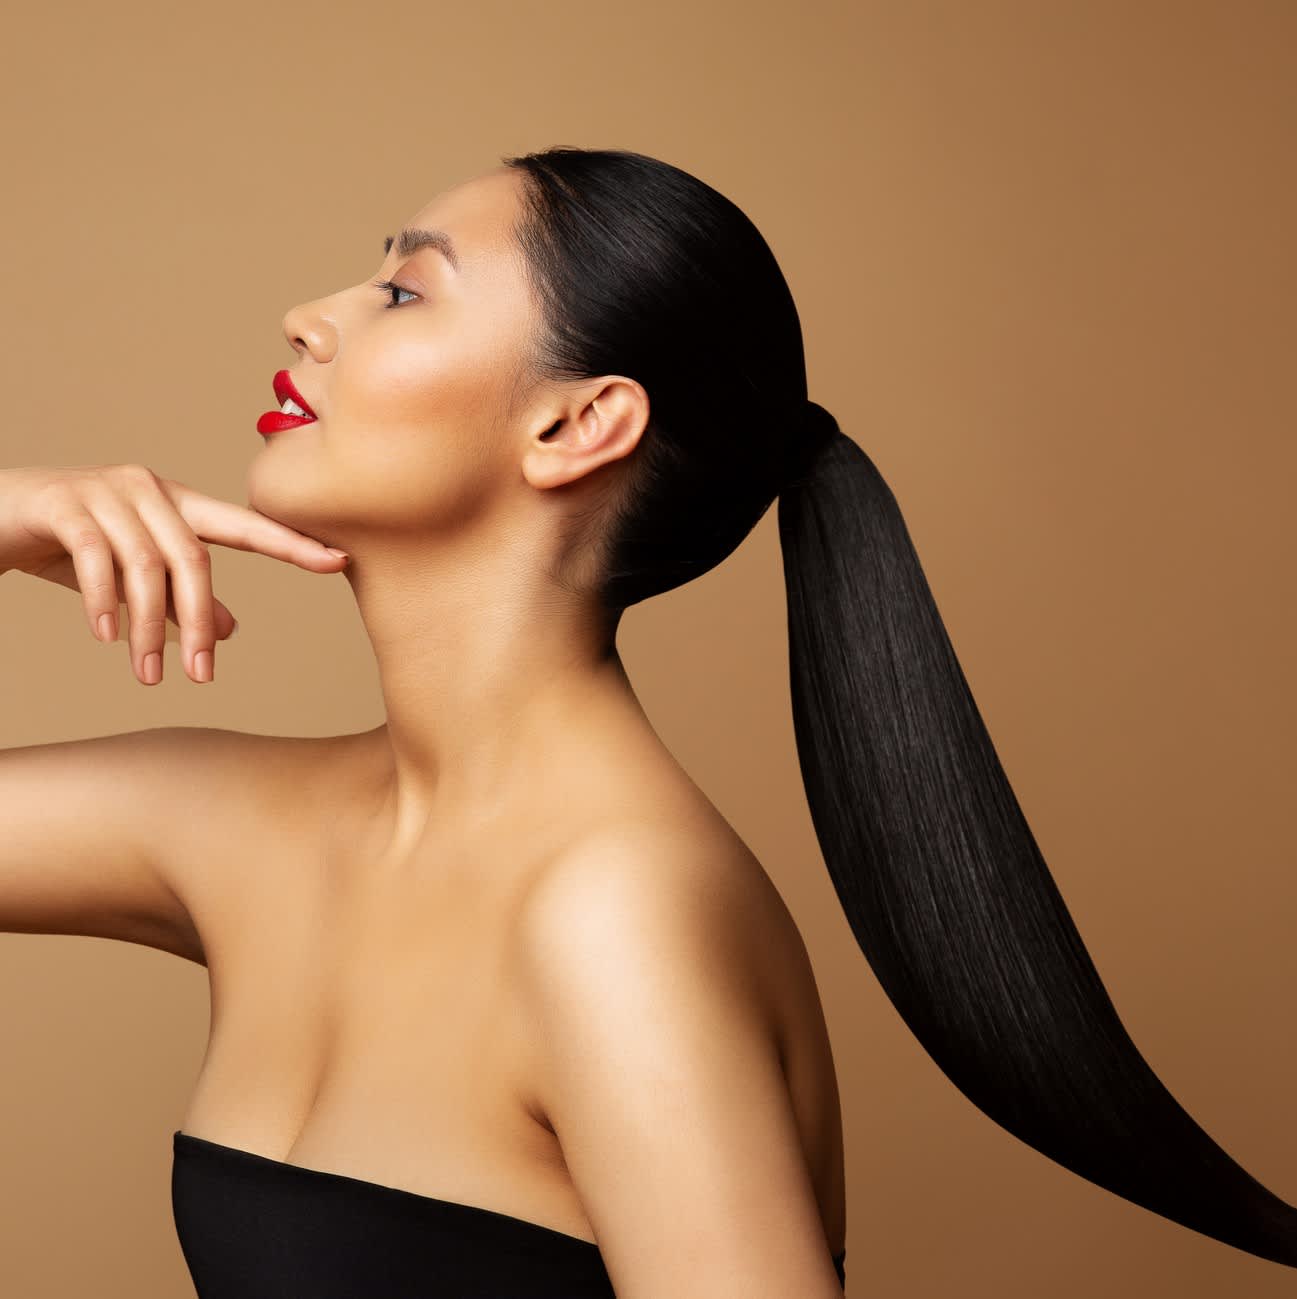
Straight, Slick Back Ponytail
Sleek, minimalist hair styles have been popular for some time now. Create a classic sleek slicked back ponytail with these steps – for shorter hair, follow the same steps to try a slick back bob hairstyle.
- If you’re starting with wet hair, use FlexFusion to rough dry until damp – use Scalp Shield mode for extra comfort!
- A neat parting is essential for this look – use a tail comb to create a pin-sharp middle or side parting.
- Attach the Fusion Straightener accessory, choose Wet Hair mode, position the plate near your roots and pass it down to the tips of your hair, section-by-section. If your hair is already dry, choose Dry Mode instead and follow the same steps.
- Use a bristle brush to gather your hair behind your head, following the hair’s natural direction either side of your parting. Secure with a snag-free hair elastic. (TIP: If your hair is too short for a ponytail, follow the same steps but secure with a bobby pin behind each ear.)
- Use a smoothing bristle brush or fine-tooth comb to smooth down the top of your hair. Struggling with frizz? Try passing the FrizzFighter Finishing Tool over your finished look, following the direction of the hair, to smooth and defrizz using Coanda airflow.
- Finish the look with hairspray or gel to keep baby hairs at bay!
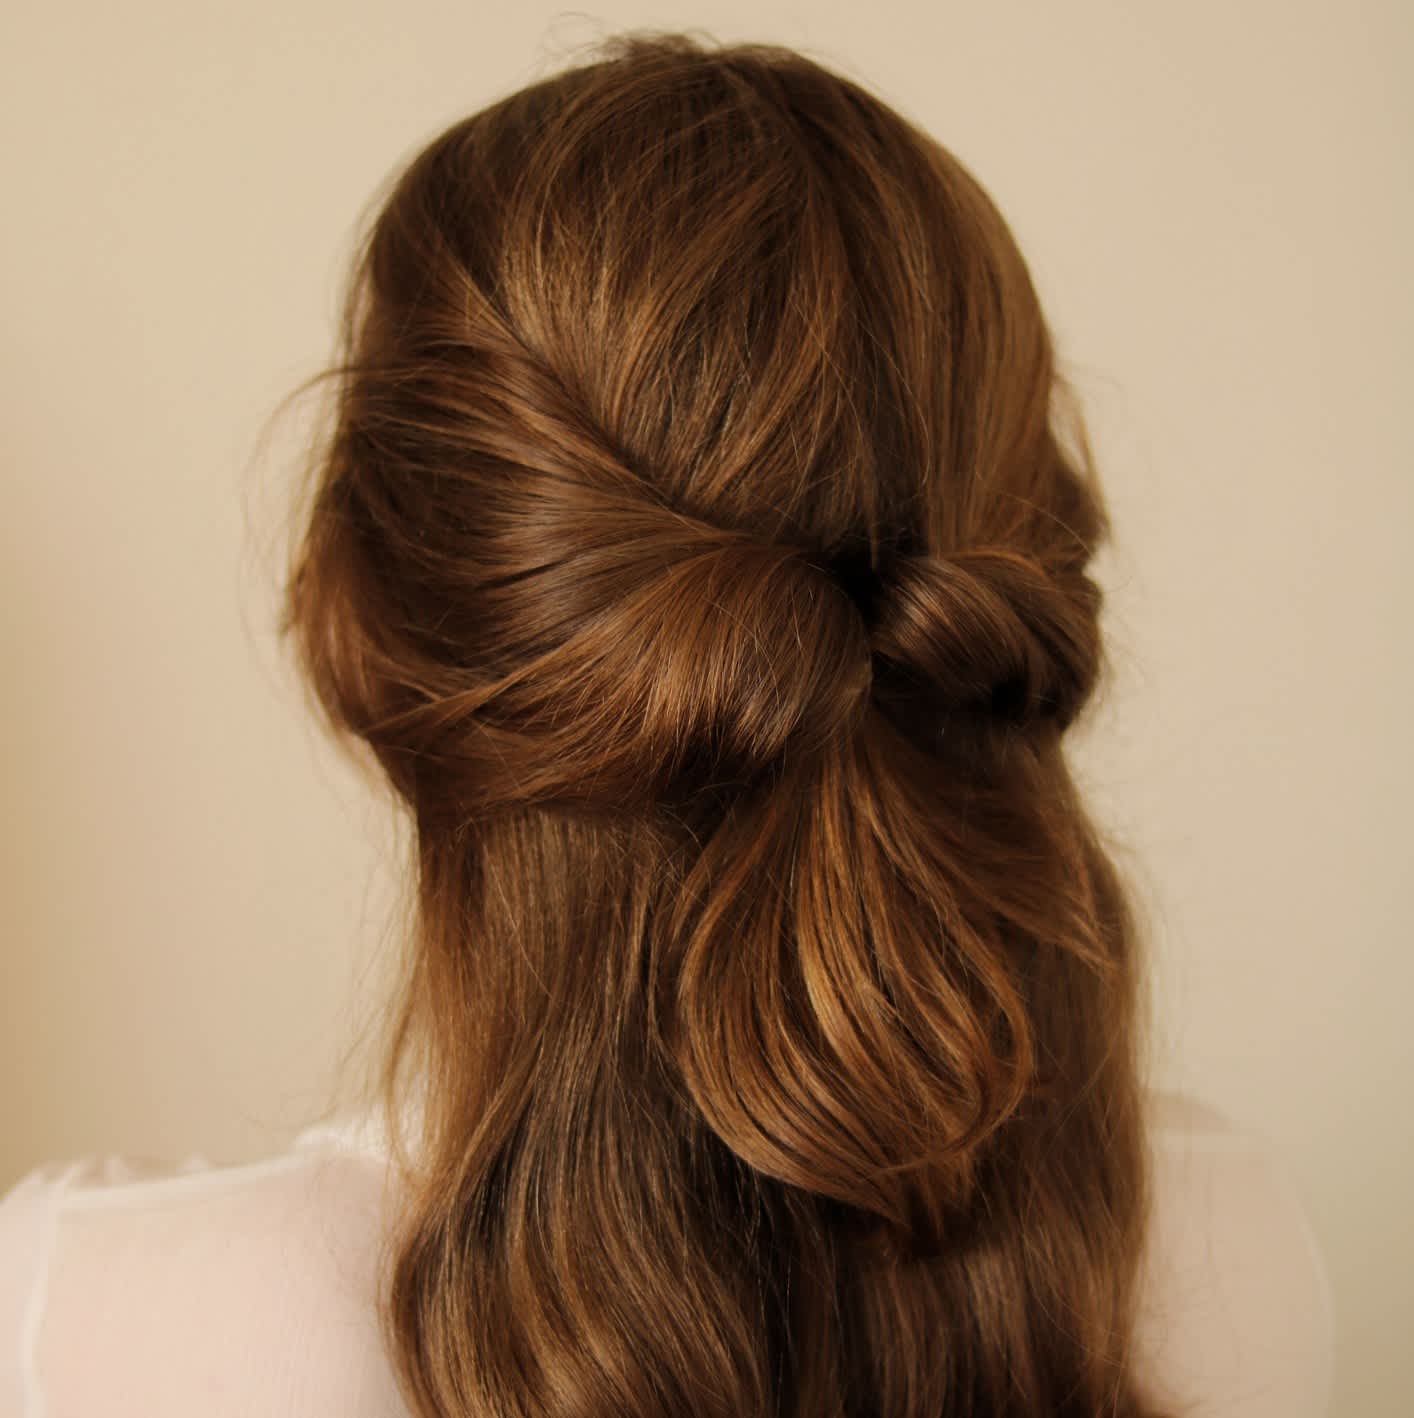
Half-Up, Half-Down for Straight Hair
Whether you need to WOW at an event, or want to add sophistication to everyday office looks, a sleek, straight half-up half-down look never misses.
- Follow steps 1-3 above to straighten your hair, from wet or dry.
- Use a tail comb to separate the top section of your hair, drawing a line horizontally from the top of your ear to the back of your head, on each side. Temporarily clip one side up while you section the other.
- Starting on one side, gather the sectioned hair – this will form your ‘half up’ section. Slowly twist the hair anti-clockwise (away from your face) until you reach the centre-back of your head. Temporarily clip one side in place while you repeat on the other side.
- When the second side is twisted, it should meet the first side in the middle. Unclip the first side. Use a snag-free hair elastic to tie both twists together.
- Flip the dangling section upwards and through the triangle created by the two twists. This creates a pretty twist design, that should also hide the hair elastic.
- Going somewhere fancy? Add a statement hair clip or accessory to the centre of the twist. Finish with hairspray or shine spray as desired for a sleek, straight finish.

Y2K Hairstyle
The 2000s are having a style resurgence – whether you remember these looks from the first time, or want to hark back to pre-internet days, these spiky space buns with straight, face-framing strands will place you firmly in Y2K style territory.
- As above, use your Fusion Straightener to straighten and smooth your hair.
- A centre parting is essential for this look, so use a tail comb to create a neat parting.
- Use a brush to gather all the hair on one side of the parting into a high ponytail – as high on your head as you can manage! A bristle brush can help to make this smooth.
- Hold the ponytail in your hand, but don’t secure it yet. Use the other hand to release a small section of hair at the front of the face – this will frame your face in classic 2000s style! Now you can secure the hair using a snag-free hair elastic.
- Next, we want to turn this pony into a bun! Wrap the hair around the base of the ponytail and secure with another elastic, or bobby pins – keep the ends out to create a spiky style! You may want to apply gel or hairspray to give the spikes even more standout!
- Repeat on the other side.
- Using FlexFusion in Dry Hair Mode, run the Fusion Straightener over the two face-framing strands one more time, to ensure they are sleek and straight. Finish with hairspray, if desired.
Frequently Asked Questions
-Prep your hair for curling by adding lightweight curl creating products such as a curl creating serum, curl mousse, or a texture spray made for your hair type.
-Make sure your hair is slightly damp (80-90% dry) before curling
-Make sure you are using the unit at high heat and high flow.
-Make sure you keep your hair on the barrel using high heat, high airflow for 10 seconds.
-Before removing your hair from the barrel, hold Cool Shot for 10 seconds.
-Repeat high heat/high airflow for 10 seconds and cool shot for 10 seconds until hair is completely dry
-Roll each curl up to your roots and pin in place while you continue to style the rest of your head. Keep the curls pinned until they are fully cooled.
-Before running fingers through the curl, allow the curl to cool completely
-Use a setting or holding spray after you create each curl
Try holding a smaller section of hair if your hair is having difficulty wrapping around the barrel.
If you find that you get frizz when using the Paddle Brush, decrease the air flow. If you still get some frizz, finish at the end of styling by brushing down the outside of the hair and pulling hair through the boar bristles. Finish also with Cool Shot to relax the cuticle. Try using hair products made for your hair type that help to reduce frizz before and after styling.
Attach this styler to dry and style in fewer steps. Our Styling-Concentrator is rotatable, enabling airflow to always be in line with your round brush. Use the airpath for a quick, all-over dry then finish with a round brush for smoothing, shaping, and bending.
Attach this styler to the dryer and use on all hair types to dry, smooth, defrizz, and add volume—all at the same time. Smoothing bristles enable grabbing, smoothing, and shining, while detangling bristles enable combing and detangling.

![Shark FlexFusion Straight 5-in-1 Air Styler & Dryer & Ceramic Straightener with Case [HD652SUK] product photo](https://res.cloudinary.com/sharkninja/f_auto,h_270,q_auto,w_270/v1/SharkNinja/HD652SUK_01.jpg)
![Shark FlexFusion Straight 5-in-1 Air Styler & Dryer & Ceramic Straightener with Case [HD652SUK] product photo Side New M](https://res.cloudinary.com/sharkninja/f_auto,h_270,q_auto,w_270/v1/SharkNinja/HD652SUK_02.jpg)

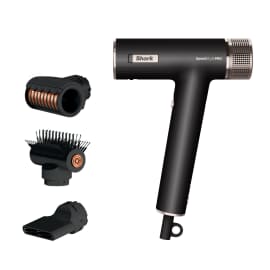
![Shark SpeedStyle 3-in-1 Hair Dryer for Straight & Wavy Hair [HD331UK] product photo](https://res.cloudinary.com/sharkninja/f_auto,h_270,q_auto,w_270/v1/SharkNinja/HD331UK_01.jpg)
![Shark SpeedStyle 3-in-1 Hair Dryer for Straight & Wavy Hair [HD331UK] product photo Side New M](https://res.cloudinary.com/sharkninja/f_auto,h_270,q_auto,w_270/v1/SharkNinja/HD331UK_02.jpg)
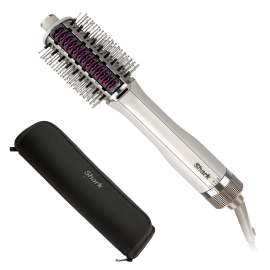
![Shark FlexStyle Build Your Own Air Styling & Hair Drying System [Black] product photo](https://res.cloudinary.com/sharkninja/f_auto,h_270,q_auto,w_270/v1/SharkNinja/HD400UK_01.jpg)
![Shark FlexStyle Build Your Own Air Styling & Hair Drying System [Black] product photo Side New M](https://res.cloudinary.com/sharkninja/f_auto,h_270,q_auto,w_270/v1/SharkNinja/HD400UK_02.jpg)
